Showing posts with label artist. Show all posts

Thursday, December 13, 2012

Gold Leaf Demo


I thought I would take all the mystery out of the gold leaf here with a few photos of the first stages of a small painting. The material I use is actually a metal alloy that looks just like gold leaf, but is a bit easier to apply. I have used 24k gold leaf and found it more tricky and although more authentic not tremendously more gold to my eye. At least for just a flat application. 


My paintings on board always start with a reddish color gesso which just happens to perfectly mimick the red clay bole traditionally used with real gold leaf. In places where the thin sheets may reveal the color underneath it is the same color one would see in the old masters paintings using gold leaf.


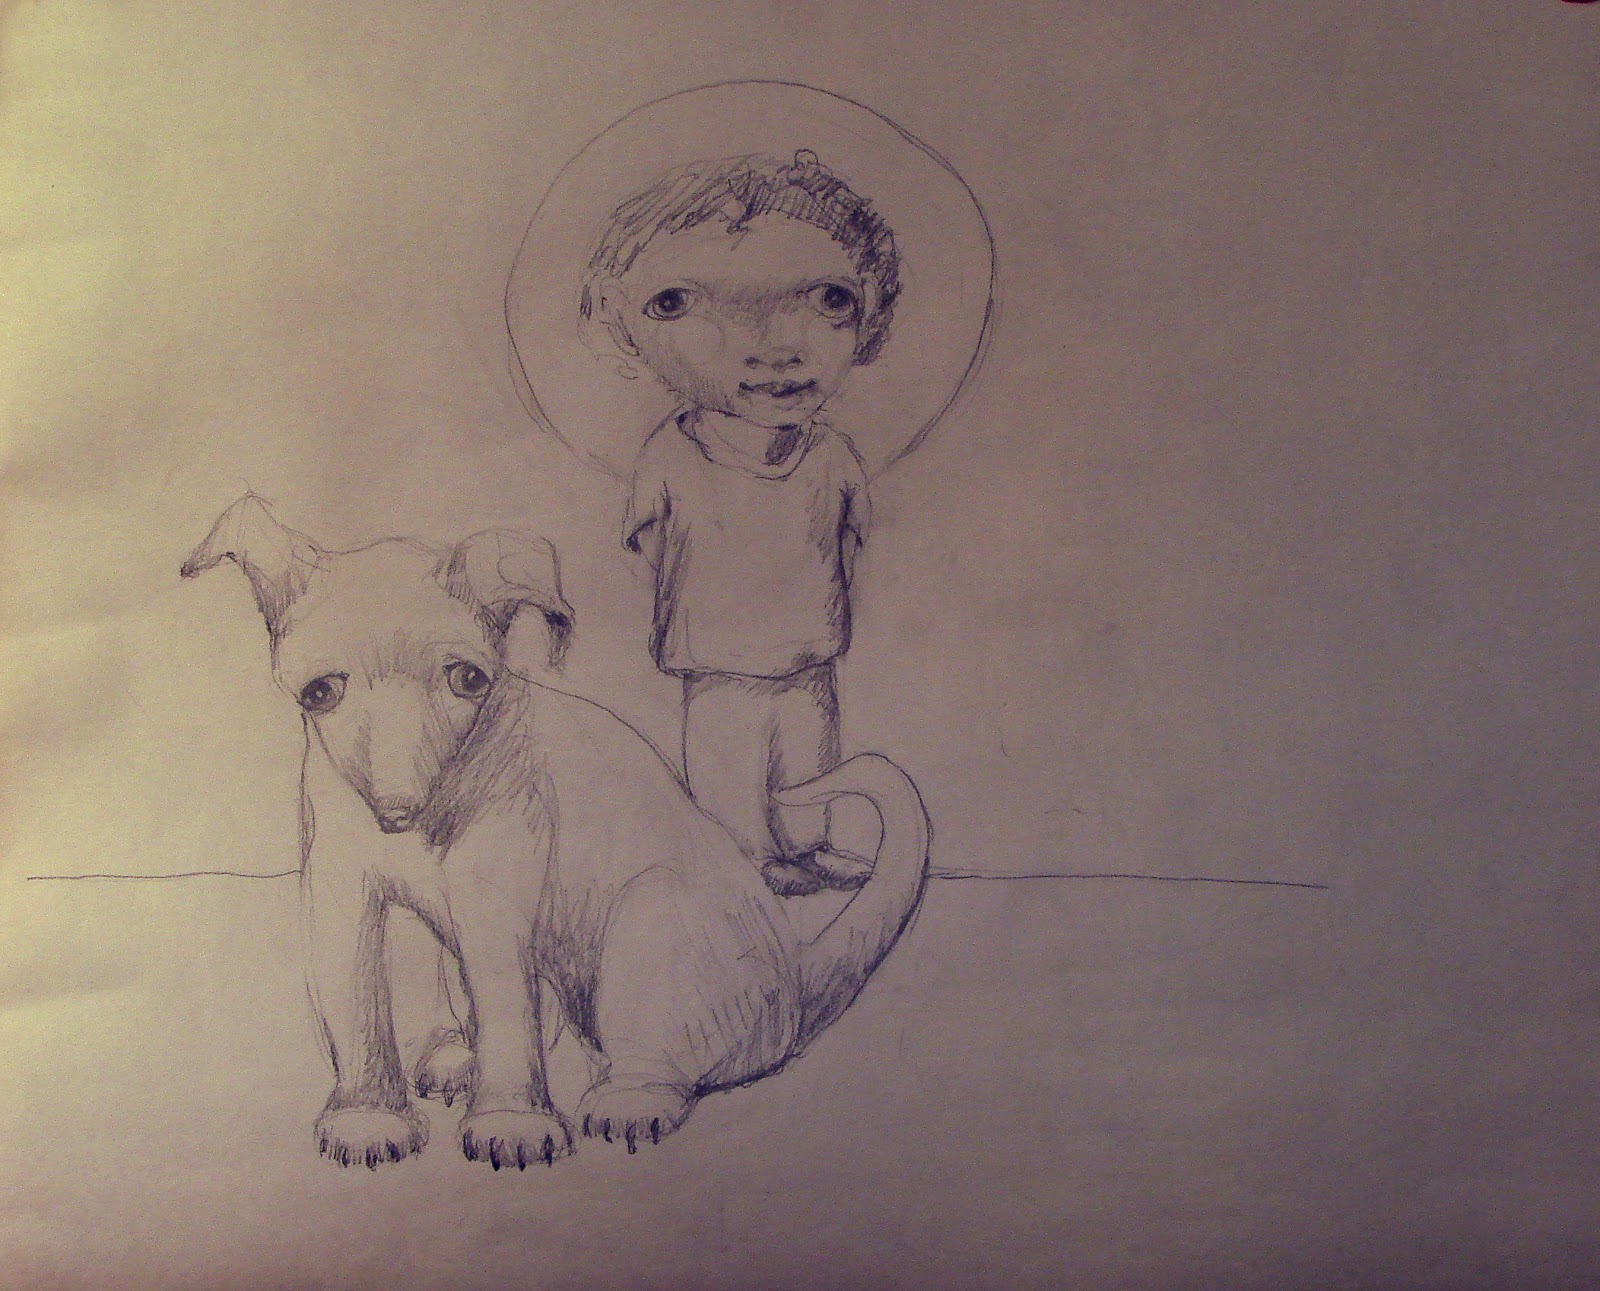
So here is a quick pencil sketch. (yes sorry hard to see) This was just a top of my head character that I didn't have in mind much other than I wanted a sort of dandy top guy who may be dancing.


So I decide where I want the gold leaf and all those area would get a layer of white glue. This stuff dries within an hour. When buying the imitation gold leaf you basically buy a small container of glue and a bunch of very thin gold sheets.


Here (top left) is the little glue bottle, and I just went ahead and used a whole sheet right over the top of image (so you get an idea the size of the sheets) Once you lay a sheet over glue you need to gently burnish it. I use the thin liner sheets that come with the leaf, then use the back of my fingernails. You just need to keep your skin oils off the gold as that can tarnish the leafing.  I often cut the sheets and piecemeal them together to save on the leafing- but it takes a lot longer.


I have a Japanese paintbrush I find just perfect for the task of removing the loose gold. You have to be gentle so don't scrub too much over the same spot but essentially brush the loose stuff and pay special attention to get little scruffs from all edges.


Then take a break and pet the dog who has been begging for attention for a while now.


At this point (very important) you will need to seal the gold areas with a clear sealer. If you don't do this  the metal will tarnish (unlike the real gold). The sealer is sold along with glue. (I use a acrylic clear sealer I have in bulk though)                     


And then the other part.  You can also paint on the gold leaf once the sealer is completely dry. I often will blend a background from a darker color to the brightest gold so it's not as flat a background.

Sunday, December 9, 2012

Another Special Order Finished

I couple months ago I recieved  a fan mail from someone who had been admiring a painting in a gallery that represents me. After thinking about it for some time he noticed it missing one day when he stopped in. I thought he was joking when he wrote to see if I had that painting available, as I just the DAY BEFORE received a check for it. -He was hoping the gallery had returned it after having it for a while and was suffering some buyers remorse.
I said I wold be happy to work with some of the elements that really drew him to the painting in the first place. We agreed I would do three sketches and and he could choose his favorite for me to work from for the finished work. It was kind of fun, and I ended up liking all three. (ok maybe one more than the others but I won't tell)
 A bit hard to tell in these photos but hopefully you get the idea. Basically working with a gold leaf circle large foreground/background split, and a very soulful face that wasn't to kooky.


The finished piece. I like how it came out. Waiting for the paint to dry, but the customer loved the photo.


Thursday, November 15, 2012

My Favorite Place at Art School

When I was on a trip back east in September I stopped by for a very quick visit to Rhode Island School of Design. I have not been back there since I graduated in 1987. Wow have things changed. It struck me that they bought up half of downtown. I just couldn't imagine how huge it had become, but luckily my very favorite place had not changed even a bit. It's called the Nature Lab and is basically a lending library for every natural object that can be preserved somehow. 

 I was allowed to freely open any cabinet or drawer I wanted, move stuff around, but really as you can see in the photos every little cabinet is it's own picture perfect setup.

 Every Item get a number that is used when you check it out.- Just like a library book. I Can remember checking out a bat with it's wings outstretched in a little flat box. I have no recollection what assignment I may have needed a bat for.......

 Just some of the bugs and butterfly collection.
 I liked this bird box, but had trouble with the light bouncing off for a great photo

 There is an attached room that was all skeletons. Every student had to sketch a full skeleton from the 'lab' as one of the first drawing assignments.
I hope they always keep this room. One of the good things about visiting was that even though the school had grown by leaps and bounds, most of the actual buildings are some of the oldest buildings around. Located in one of the most historic districts in New England. So on the outside it was like I'd never left.

Sunday, November 11, 2012

When I Fight With a Painting

As promised a brief look at a recent painting that I just struggled with. Sometimes a painting seems to just effortlessly go along start to finish, and every now and then it is a real struggle. I thought I would show you one of those.
 This image of three birds developed out of me scribbling onto some wet paint. I often enjoy the game of this, finding an image and re-shaping things. I really liked the composition and three birds, but midway through the colors were not working. Mostly the background. I think I changed it many times and nothing seemed to work. (That is when I quit for a day or two.) When I next came back to it I took drastic action and just painted over the entire image a dark warm brown tone (see above). There is something oddly taking a painting you have spent a lot of time on and covering it up.
Then little by little I went and 'erased' the parts to expose the birds, leaving the dark color as a sort of shading then went added highlights. The above image is what it looks like when I do this just before I blend it. 
Here it is finished.  I especially am fond of the little blue bird in the corner

Thursday, November 8, 2012

Some Studio Tour Photos

Well here it is all cleaned up and hung for the mid October Ojai Studio Artist's Tour. I always forget to photograph things when they are looking spiffy and so made a note this year to do it. I had planned to take some during the event, but somehow I am either the one engaged in a conversation or photographing peoples backsides as they look at the wall. Didn't seem to make for very good shots.

 Lots of jewelry.

 The little 'Recession Buster' corner.
And of course my good friend 'baby' Joe Mueller takin' care of business for me. I could never do it with out him. And a heartfelt thanks to you all who keep coming to visit me. Cheers. Chris